This is a post describing how to add the interact.js library to a TMS Web Core project to give the user the ability to drag and resize elements on the page with very little coding effort.
Motivation: I'm setting up a traditional dashboard type of module with widgets that can be added or removed, resized and reordered, that sort of thing. Most of the widgets are setup as a TWebPanel that has a little header and rounded corners and the rest of it. While it is possible in straight CSS to add the "resize" property to a div, dragging is a little different and getting notified about either event is a little different again. Interact.js kind of wraps up everything in a nice little package.
To get started, as usual it is just an extra line in Project.html.
<script src="https://cdn.jsdelivr.net/npm/interactjs/dist/interact.min.js"></script>
Then you have to define what elements to work with. Two steps. The first is super-convenient in that it just uses a class to find the elements. So adding the resize-drag class to your component's ElementClassName makes it resizable and draggable. I'm using TWebPanel components in the demo project, but other components work just as well. Then, in the WebFormCreate function you can add the code to setup the functionality. This is what I've used in the demo. It is a bit stripped down from what is on their website, but mostly the same. Some comments on that in a moment.
  asm
    function dragMoveListener (event) {
      var target = event.target
      var x = (parseFloat(target.getAttribute('data-x')) || 0) + event.dx
      var y = (parseFloat(target.getAttribute('data-y')) || 0) + event.dy
      target.style.transform = 'translate(' + x + 'px, ' + y + 'px)'
      target.setAttribute('data-x', x)
      target.setAttribute('data-y', y)
    };
    window.dragMoveListener = dragMoveListener;
    interact('.resize-drag')
      .resizable({
        edges: { left: true, right: true, bottom: true, top: true },
        margin:20, // size of resizing boundary interaction area
        listeners: {
          move (event) {
            var target = event.target
            var x = (parseFloat(target.getAttribute('data-x')) || 0)
            var y = (parseFloat(target.getAttribute('data-y')) || 0)
            target.style.width = event.rect.width + 'px'
            target.style.height = event.rect.height + 'px'
            x += event.deltaRect.left
            y += event.deltaRect.top
            target.style.transform = 'translate(' + x + 'px,' + y + 'px)'
            target.setAttribute('data-x', x)
            target.setAttribute('data-y', y)
            pas.Unit1.Form1.ResizeDrag(target.id);
          }
        }
      })
      .draggable({
        listeners: { move: window.dragMoveListener }
      });
  end;
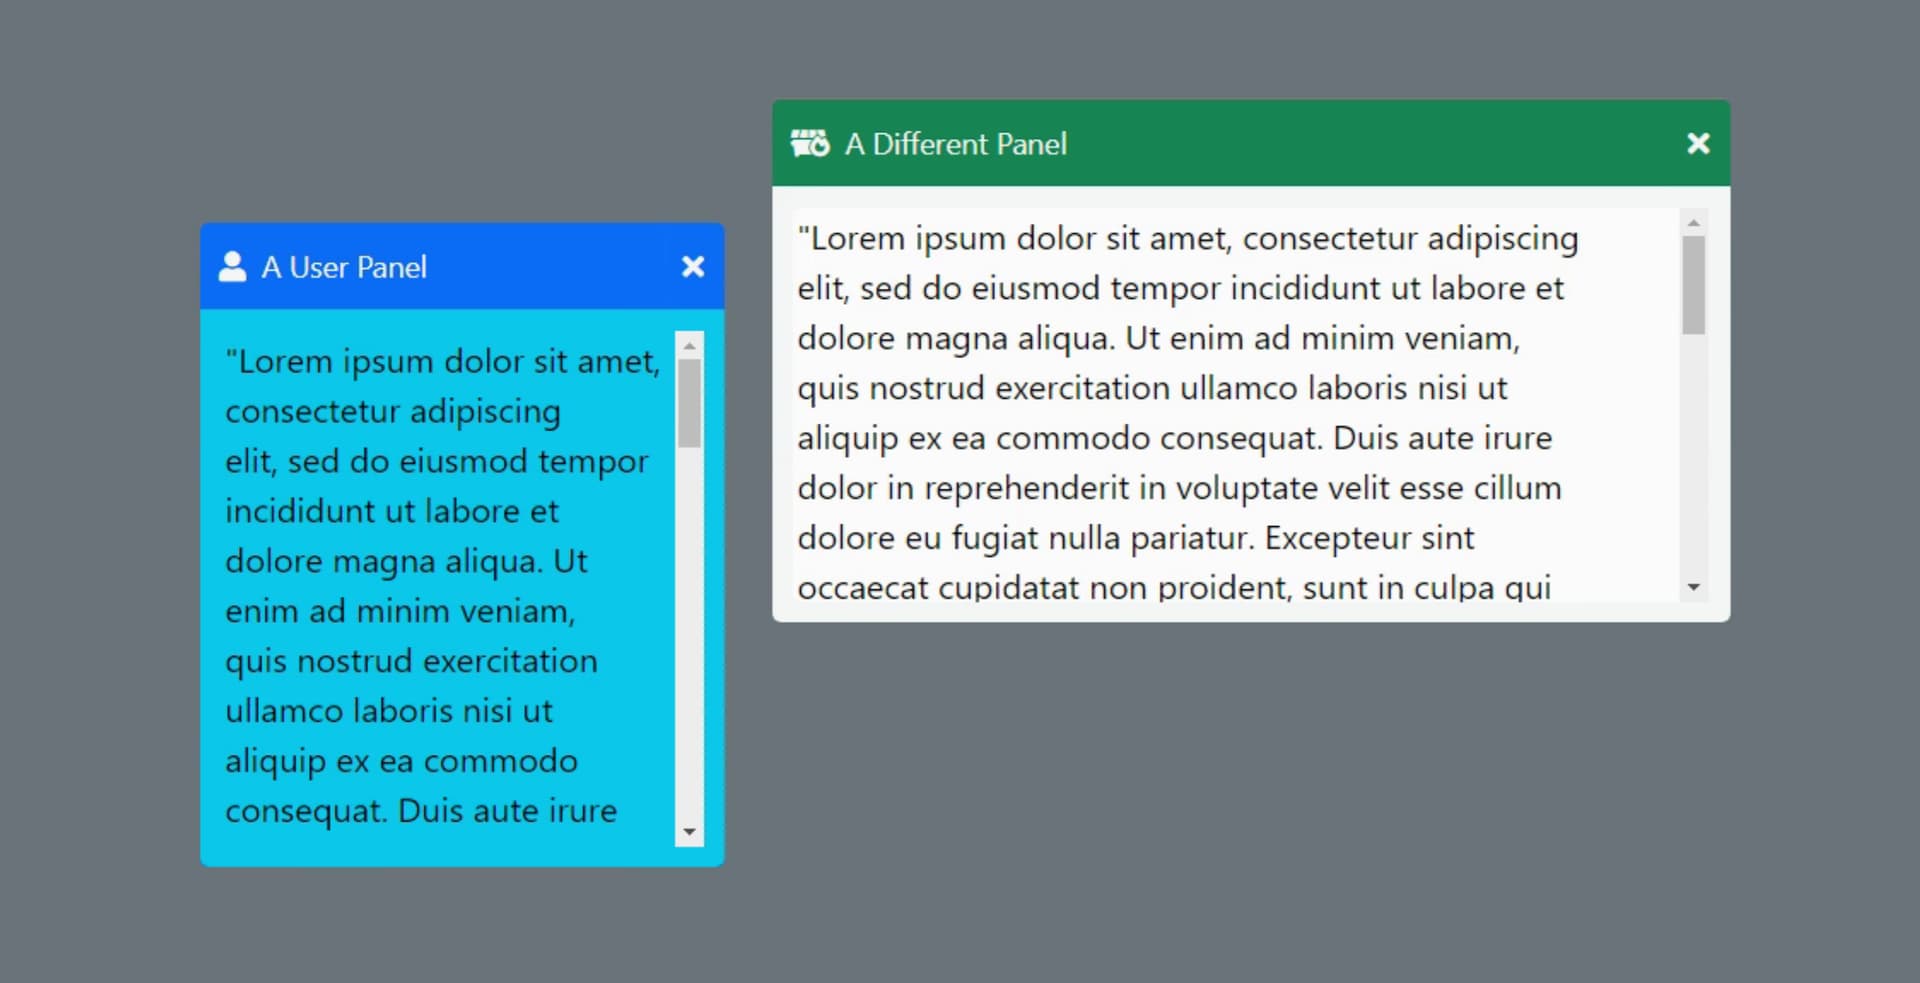
That's pretty much all there is to it. Off and running! I've attached a demo project and a screen shot. The demo uses a TWebScrollbox for the main area that holds the widgets as well as the wdiget body elements so that scrollbars appear/disappear automatically as the widgets are resized and if they are moved off the edge of the main area.
The trickiest part is for Delphi to know that the element has changed, particularly size, so that it can do its thing with the object alignment and so on. Might not be something others have to worry about but I've setup my components in a particular way that needs this. Also provides the opportunity to do other things at this point, such as trigger a reflow or something if the intent is to automatically rearrange widgets when one is adjusted.
To do this there's the call pas.Unit1.Form1.ResizeDrag(target.id);. Probably a dozen ways to do this, but I generally have these things collected up in a different module which is why I wrote it that way. This function just looks at the JS object and adjusts the Delphi object to have the same size and position. Does the trick to trigger the realignment of the child components but could be generalized a bit further and might not even be needed by some. Might also be added to the drag listeners but wasn't needed in this case.
Some additional notes.
- The sample code on the front page of their website for their resize example also supports dragging but it needs the code from the draggable example to work. Also, their sample code tries to display the size of the element after resizing, but has the comical side-effect of removing all the child elements of the element that you are resizing. As a result, the code sample above addresses these and trims out things that I don't need.
- The margin value in the interact definition is used to set how wide the perimeter border is when moving between dragging and resizing. The default is a pretty generous resize border.
- There are options that can be applied so as to not interfere with the underlying components. For example, in the demo it isn't easy to select text in the TWebMemo because it just drags the component instead. Conversely, you can add the CSS property
pointer-events: noneto any elements where it is ok for interact.js to take over but where you don't want the "disabled" look. - As with many js libraries there are a lot of other useful options. Setting limits on the resize dimentions/aspect ratio, inverting, inertia, and so on. Best to check out the site for more details if you're interested in more complex interactions.
Here's the demo project. Lots of Bootstrap and Fontawesome to make it look pretty. The widgets can be dragged from anywhere but if you want to see the cursor for dragging try moving just outside of the TWebMemo area. Lots and lots of refinements are possible of course, this was just put together in a few minutes.
InteractTest.zip (1.6 MB)
That's about it for now. I've just gotten started with it, but happy to try and answer any questions.
 but I managed to get it all sorted out in the end.